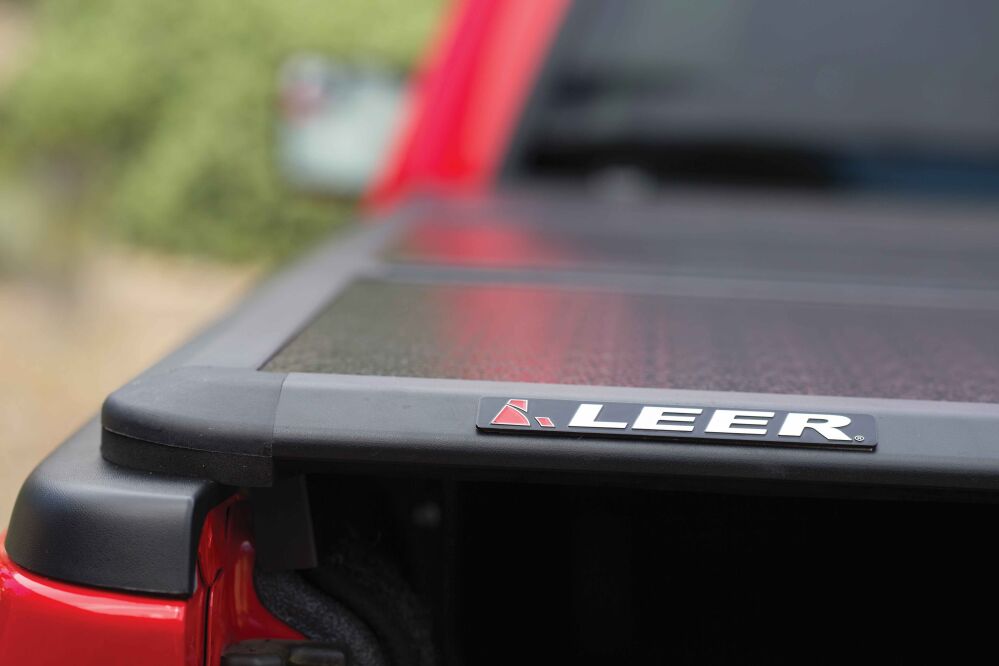
How to Install a LEER HF350M Tonneau Cover
Jul 31 2025
Discover how to install the LEER HF350M Tonneau Cover with ease. This hard-folding, three-panel cover features a flush-mount design for a streamlined, low-profile appearance while delivering superior protection, security, and daily functionality for your truck bed. Engineered for simple, no-drill installation, the HF350M is constructed from tough yet lightweight materials built to withstand the elements. It's equipped with LEER's exclusive CYNC Latch System, enabling one-handed operation from either side of the vehicle for quick and convenient access. Whether you're safeguarding your tools, transporting gear, or enhancing your truck's overall style, the LEER HF350M is a dependable and stylish upgrade.
LEER HF350M Installation Guide
- 2.5mm Allen Wrench
- 5mm Allen Wrench
- Prepare Your Truck Bed
- Make sure the bed rails and tailgate area are clean and free of debris
- Remove any old tonneau cover hardware if applicable
- Installing the Side Rails
- Place the side rails along the top inside edges of your truck bed.
- Make sure that the rail notch is flush, and you are using the correct side raild
- Installing the Clamps
- Use three evenly spread out locations to place clamps inside the bed channel rail
- Hand-tighten all clamps until contact is made
- Use 5mm Allen Wrench to tighten screws
- Once tighten you may remove the flower nut
- Pro Tip: Check that rails are level and flush with the bed
- Installing the Cover
- Place the folded cover on the front of the bed near the cab
- Ensure the front key holes are aligned, and repeat for the opposite side
- Align the cover so it fits squarely between the rails
- Adjust as Needed
- Close the tailgate and check alignment
- If needed, adjust the screws on tie down loop and latch locator so you can shift the cover
- Secondary Latch System
- Once the cover is square attach the secondary tie down for added security
- Installing Prop Rods
-
Attach the fixed-end ball fitting "A" of the prop rod to the prop rod base installed on the panel. These will remain here while the cover is in an open or closed position.
-
Place the arm of the prop rod into the prop rod clip "C" for the closed position.
-
Place the arm of the prop rod into the ball stud "A" for the open position.
-
- Final Checks
- Check all clamps and hardware for tightness.
- Make sure the cover opens, closes, and latches smoothly.
- Check for any gaps that could let in water.